The Rise of the Claws
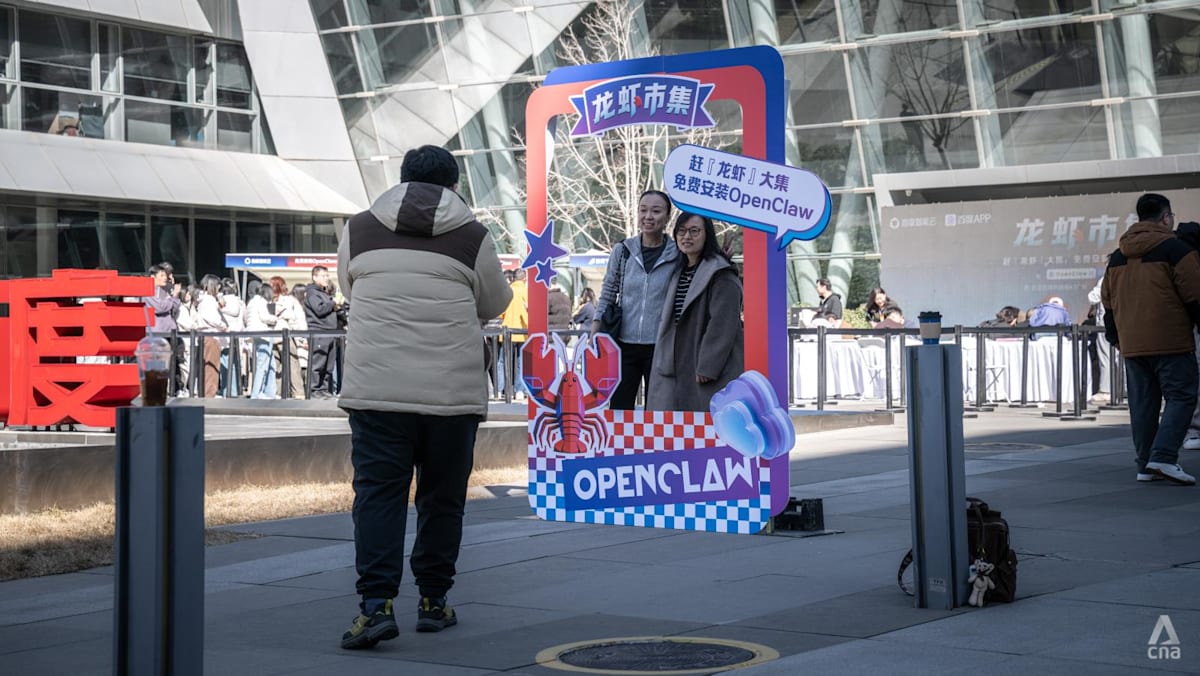
The "Lobster" Craze
The "Lobster" Nickname
Chinese users nicknamed OpenClaw "龙虾" (lobster) after its red logo. "Have you raised a lobster yet?" became the viral greeting.
Installation Services Industry
A cottage industry emerged offering OpenClaw installation for $15-$100. One entrepreneur quit his job and hired 100 employees.
Hardware Bundles
Refurbished Mac minis with OpenClaw pre-installed sold out. Orders increased 8x in just two weeks.
The Birth of OpenClaw
Peter Steinberger releases a WhatsApp relay script. "Chatbots respond, Agents act."
GitHub History
Surpasses 180,000 stars. ClawCon SF draws 700+ people. The agent era begins.
China's Gold Rush
20 million monthly active users. Tech giants join in. Local governments offer computing credits.
The Claw Ecosystem
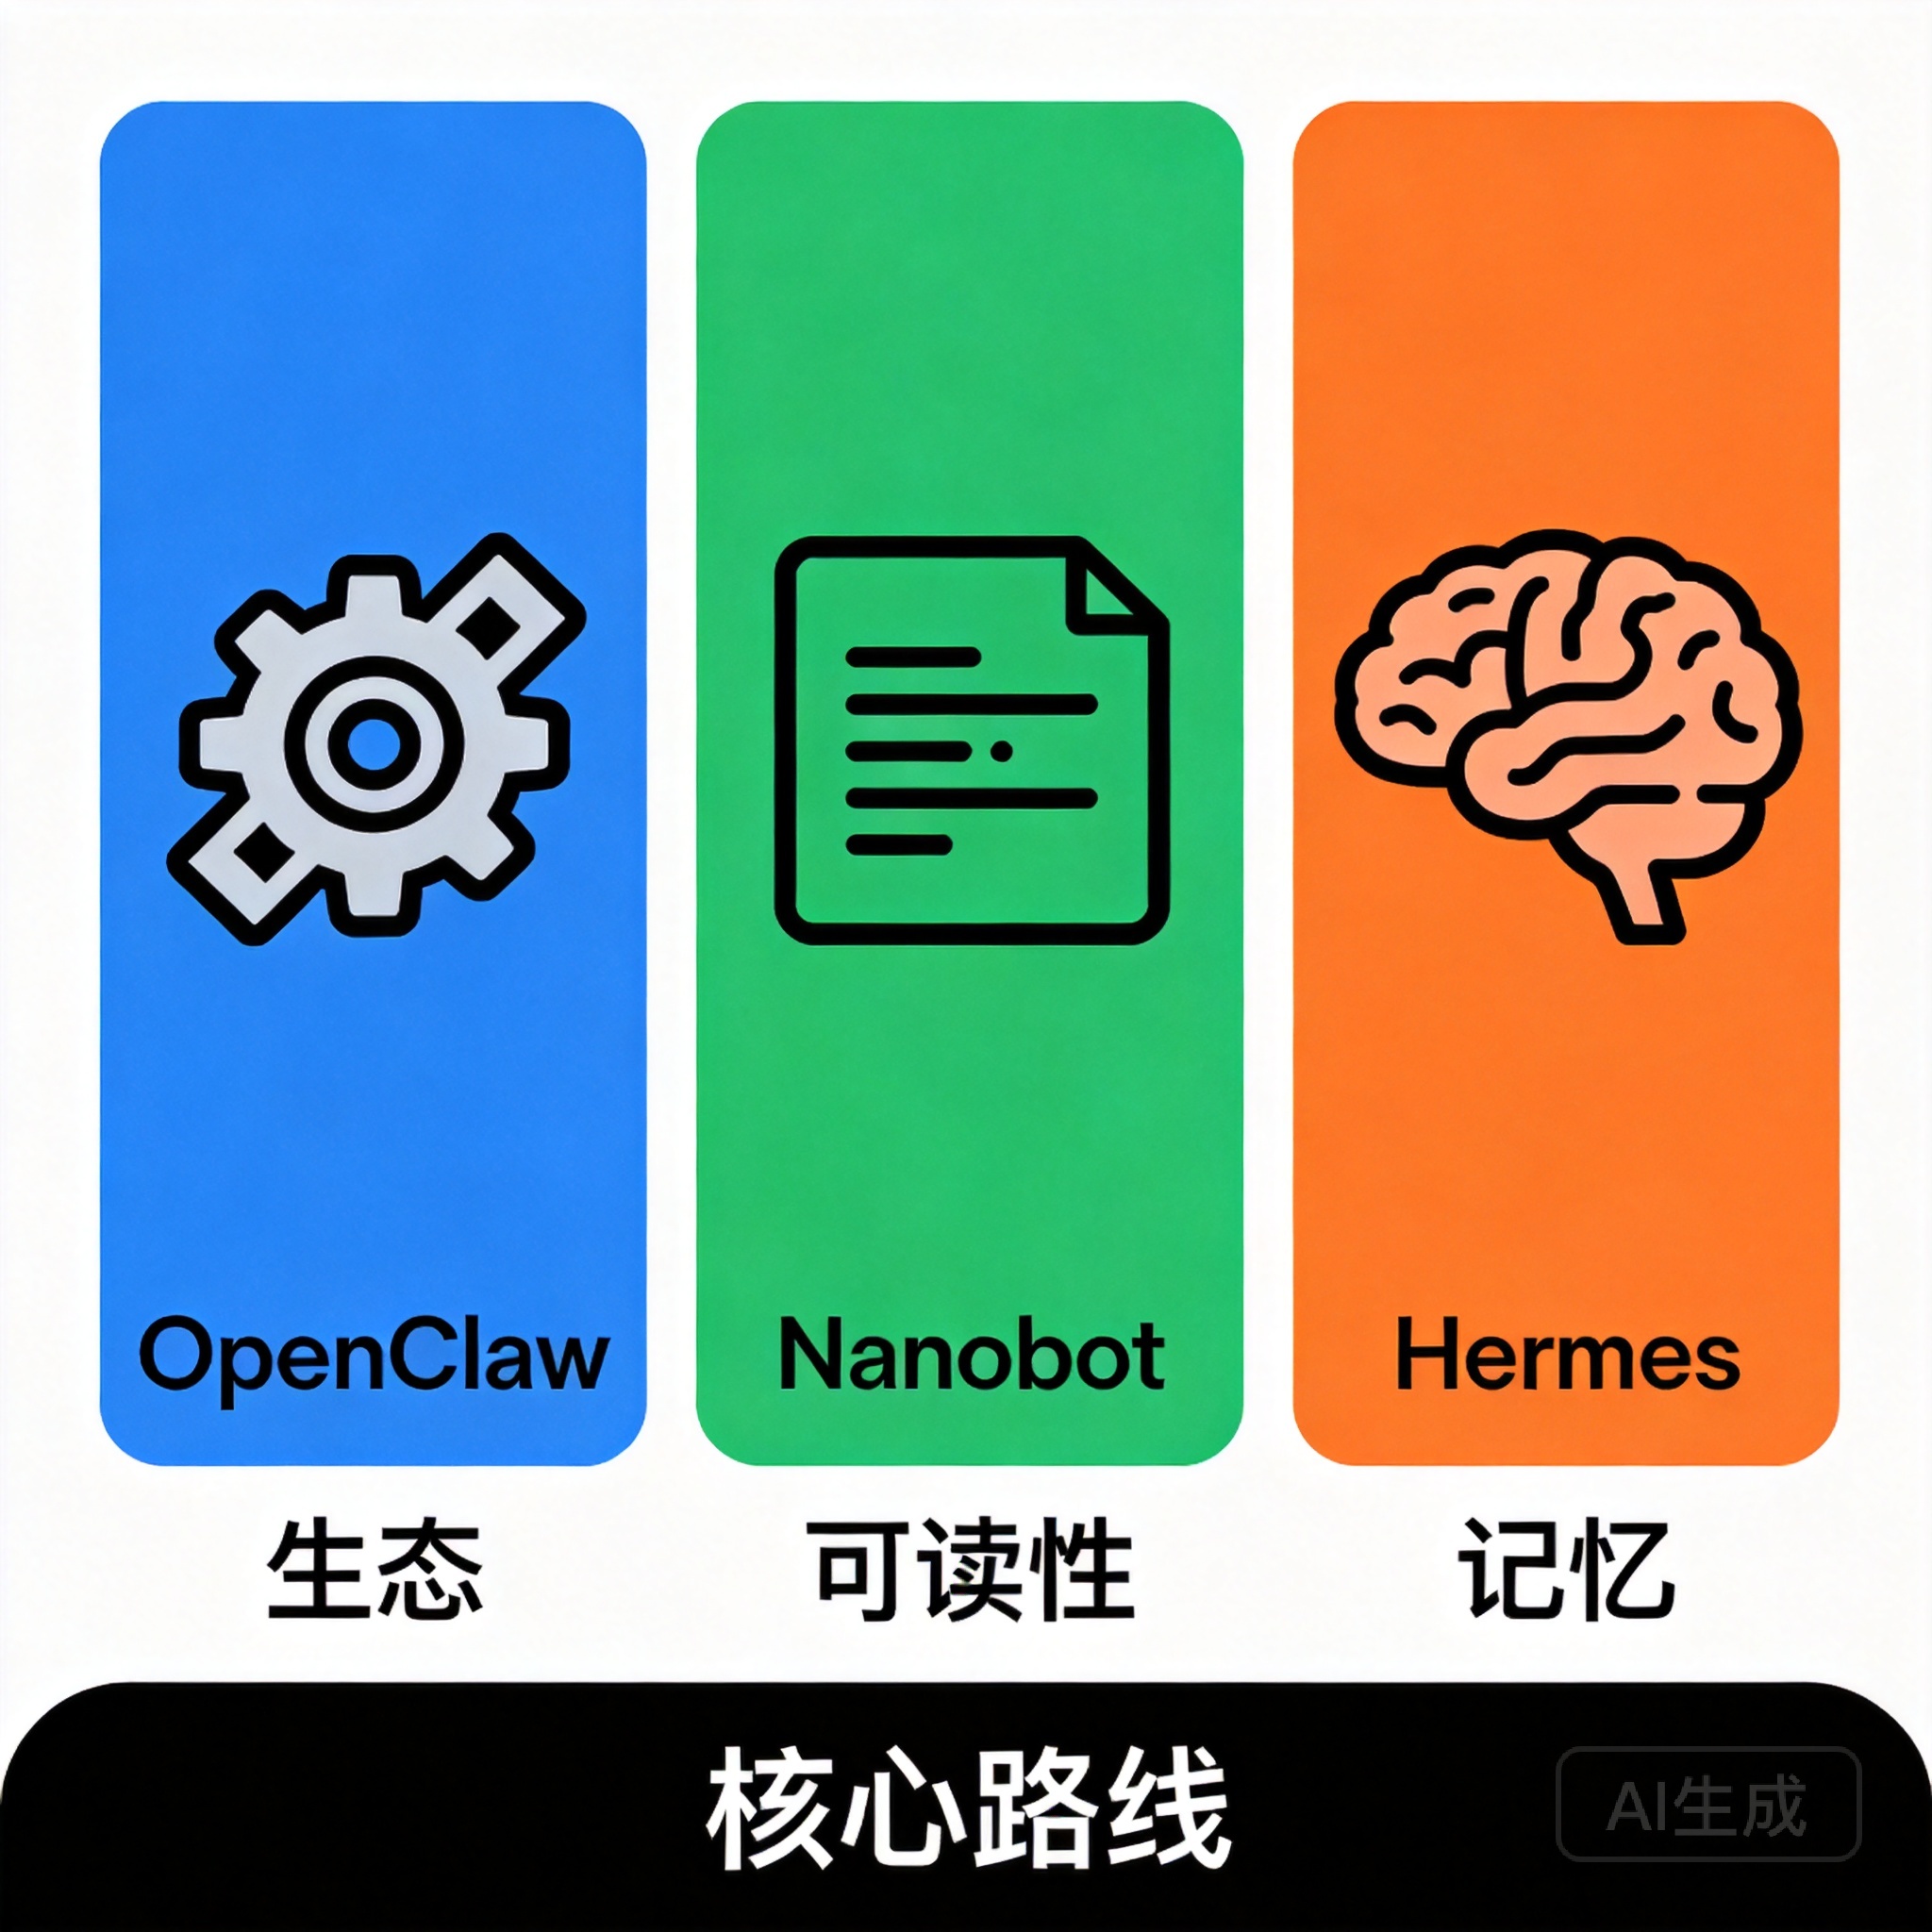
OpenClaw
587K lines • Python/JS
- Full-featured framework
- Comprehensive tools & plugins
- Large community support
- Requires robust infrastructure
- Best for: Enterprise teams
Nanobot
4K lines • Python
- Ultra-lightweight (98% smaller)
- MCP-native architecture
- Runs on Google Cloud Free Tier
- Easy to read & modify
- Best for: Beginners & researchers
Hermes
25K lines • Python/TypeScript
- Production-ready agent framework
- Advanced memory management
- Multi-agent orchestration
- Rich skill ecosystem
- Best for: Complex workflows
Google Cloud Free Tier Ready
Nanobot runs on e2-micro instances. 24/7 operation costs $0. Perfect for learners and personal projects.